That sinking feeling when your oven door hangs crooked or refuses to latch shut completely can turn dinner prep into a nightmare – and it’s more common than you think, affecting nearly 30% of ovens over five years old.
A properly closing oven door isn’t just about convenience. When your oven door won’t seal correctly, you’re losing heat, wasting energy, and potentially creating safety hazards. The good news? Most oven door problems stem from just a few common causes that you can often fix yourself with basic tools and patience.
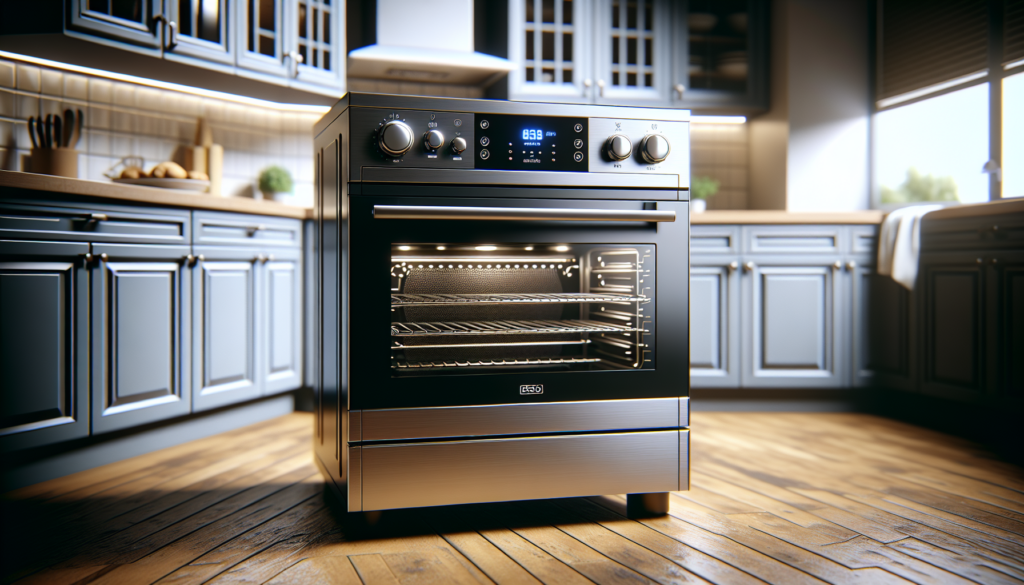
Understanding Why Oven Doors Stop Closing Properly

AI Generated image · DALL-E 3
Oven doors face extreme temperature swings every day, expanding and contracting with each heating cycle. This constant thermal stress takes its toll on several key components:
Door hinges bear the brunt of this abuse. The metal expands when hot, contracts when cool, and gradually warps or loosens over thousands of cycles. Heavy oven doors make this worse – some models weigh 15-20 pounds.
Door alignment shifts as hinges wear. Even tiny changes in hinge positioning can prevent proper door closure. Springs weaken, pivot points wear down, and mounting screws work loose.
Door seals and gaskets compress and deteriorate from heat exposure. A warped seal creates gaps that prevent the door from sitting flush against the oven frame.
The most telling signs include visible gaps around the door perimeter, difficulty engaging the latch, or the door swinging open during cooking. Take action immediately – heat loss reduces cooking efficiency and can damage internal components over time.
Diagnosing Warped Hinges and Alignment Problems

AI Generated image · DALL-E 3
Start your diagnosis with the door fully open. Examine both hinges carefully for visible warping, cracks, or bent components. Look for these specific indicators:
• Hinge arms that don’t align parallel to each other • Springs that appear stretched, broken, or missing • Pivot pins that show excessive wear or looseness • Mounting screws that have worked loose or stripped
Test the door’s movement by slowly closing it while watching the gap around the perimeter. A properly aligned door maintains consistent spacing on all sides as it closes.
Use a dollar bill test for precise gap measurement. With the door closed, slide a dollar bill around the door perimeter. If the bill slides out easily anywhere, you have a sealing problem that needs attention.
Check the door catch and latch mechanism. The latch should engage smoothly and hold the door firmly closed without excessive force. Sticky or misaligned latches often indicate hinge problems that need addressing first.
Document what you find – photos help when ordering replacement parts or explaining issues to repair professionals.
Step-by-Step Hinge Adjustment and Repair

AI Generated image · DALL-E 3
Before starting any hinge work, disconnect power to your oven and allow it to cool completely. Oven door springs store significant tension and can cause injury if handled improperly.
For minor alignment issues, try these adjustments first:
- Loosen the hinge mounting screws slightly – usually two screws per hinge
- Gently reposition the door while someone holds it steady
- Retighten screws while maintaining proper alignment
- Test door closure and repeat if necessary
For warped hinges requiring replacement:
- Support the door weight before removing hinges
- Mark hinge positions with tape for reference
- Remove mounting screws and carefully lift out old hinges
- Install new hinges in exact same positions
- Test door operation before final tightening
Warning: Oven door springs can snap and cause serious injury. If you see damaged springs or feel uncomfortable with the repair complexity, stop and call a professional technician.
Most hinge adjustments take 15-30 minutes with basic tools, but rushing leads to stripped screws and bigger problems.
Fixing Door Latch and Catch Mechanisms
The door latch system works in coordination with your hinges to create a proper seal. When hinges are misaligned, latches often compensate by wearing unevenly or binding during operation.
Clean the latch mechanism first. Built-up grease and food debris commonly cause sticking issues:
• Remove loose debris with a soft brush • Wipe contact surfaces with degreasing cleaner • Apply light lubricant to pivot points (never use cooking oils) • Test latch operation several times to distribute lubricant
Check latch alignment by observing how the door catch engages. The latch should slide smoothly into the catch without binding or excessive force required.
For sticky latches, spray contact cleaner on pivot points and work the mechanism repeatedly. Avoid petroleum-based lubricants that can gum up with heat exposure.
Some ovens have adjustable latch positions. Loosen the latch mounting screws, reposition for better catch alignment, and retighten. This simple adjustment often solves doors that won’t stay closed.
Replace the entire latch assembly if you find cracked components, stripped threads, or severe wear that cleaning can’t resolve.
Replacing Damaged Door Seals and Gaskets
Damaged door seals are often overlooked but critically important for proper door closure. A compressed, torn, or heat-damaged seal creates gaps that prevent the door from sitting flush.
Inspect your current seal carefully. Look for:
• Flat or compressed areas that won’t spring back • Cracks, tears, or missing sections • Heat damage showing as brittle or discolored areas • Loose mounting where the seal pulls away from the door
Remove the old seal by carefully pulling it from its mounting channel. Take photos before removal to ensure proper installation of the replacement.
Clean the mounting channel thoroughly with degreasing cleaner. Built-up residue prevents new seals from seating properly.
Install the new seal starting at one corner and working your way around. Press firmly into the mounting channel, ensuring no gaps or overlaps. The seal should sit evenly without twisting or bunching.
Test the door closure with the new seal installed. You should feel slight resistance when closing – this compression creates the proper thermal seal.
Quality door seals typically last 3-5 years with normal use, but high-temperature cooking or frequent use accelerates wear.
When to Call Professional Repair Services
While many door issues are DIY-friendly, certain problems require professional expertise and specialized tools. Call a professional immediately if you encounter these situations:
• Oven door glass is cracked or shattered • Hinge springs are broken or under dangerous tension • Door frame itself is warped or damaged • Multiple failed DIY attempts have worsened the problem
Professional technicians have access to OEM parts, specialized spring tools, and experience with specific oven models. They can also identify underlying issues that cause premature door problems.
Consider professional service for expensive or high-end ovens where DIY mistakes could void warranties. The cost of professional diagnosis often saves money compared to replacing damaged components from improper repairs.
Some manufacturers require professional installation for warranty coverage on door components. Check your warranty terms before attempting repairs on newer ovens.
Professional repair typically costs $150-300 depending on parts needed and local labor rates. Compare this against replacement costs – sometimes repair isn’t economical for older ovens.
Preventing Future Door Problems
Regular maintenance prevents most oven door problems from developing. Implement these simple practices to extend door life and maintain proper operation:
Clean door hinges monthly during regular oven cleaning. Grease buildup accelerates wear and can cause binding. Use degreasing cleaner and a small brush to remove accumulated residue.
Avoid slamming the door closed. The impact stress damages hinges and can knock components out of alignment. Close doors firmly but gently, allowing the latch to engage naturally.
Check door seal condition every few months. Replace seals showing early wear signs before they fail completely and allow heat loss.
Support the door when cleaning inside the oven. Don’t let the door hang fully open for extended periods – this stresses hinge springs and accelerates wear.
Schedule annual professional inspections for heavily used ovens. Technicians can spot developing problems and make preventive adjustments before failures occur.
Keep spare parts on hand for older ovens. Door components often fail together, and having replacement parts available prevents extended downtime.
Energy Star oven efficiency ratings
Frequently Asked Questions
Q: Why does my oven door keep falling open during cooking? This usually indicates worn hinge springs or a misaligned latch that can’t maintain proper engagement under the door’s weight.
Q: Can I still use my oven if the door won’t close completely? No – improper door sealing creates safety hazards, wastes energy, and can damage internal oven components from heat loss.
Q: How much does professional oven door repair typically cost? Professional repairs range from $150-300 depending on parts needed, with hinge replacement being the most common repair.
Q: Are oven door parts universal between brands? No – door components are model-specific. You’ll need exact part numbers from your oven’s serial number plate for proper fit.
Q: How long should oven door repairs take? Simple adjustments take 15-30 minutes, while complete hinge or latch replacement typically requires 45-90 minutes for experienced technicians.
Book a Repair Today
Don’t let a faulty oven door disrupt your cooking routine or waste energy through heat loss. At Pros Fix Appliances, our experienced technicians diagnose and repair all oven door problems quickly and affordably. We stock common replacement parts and offer same-day service throughout the San Fernando Valley. Contact us today for fast, professional oven door repair that gets your kitchen back to full operation.